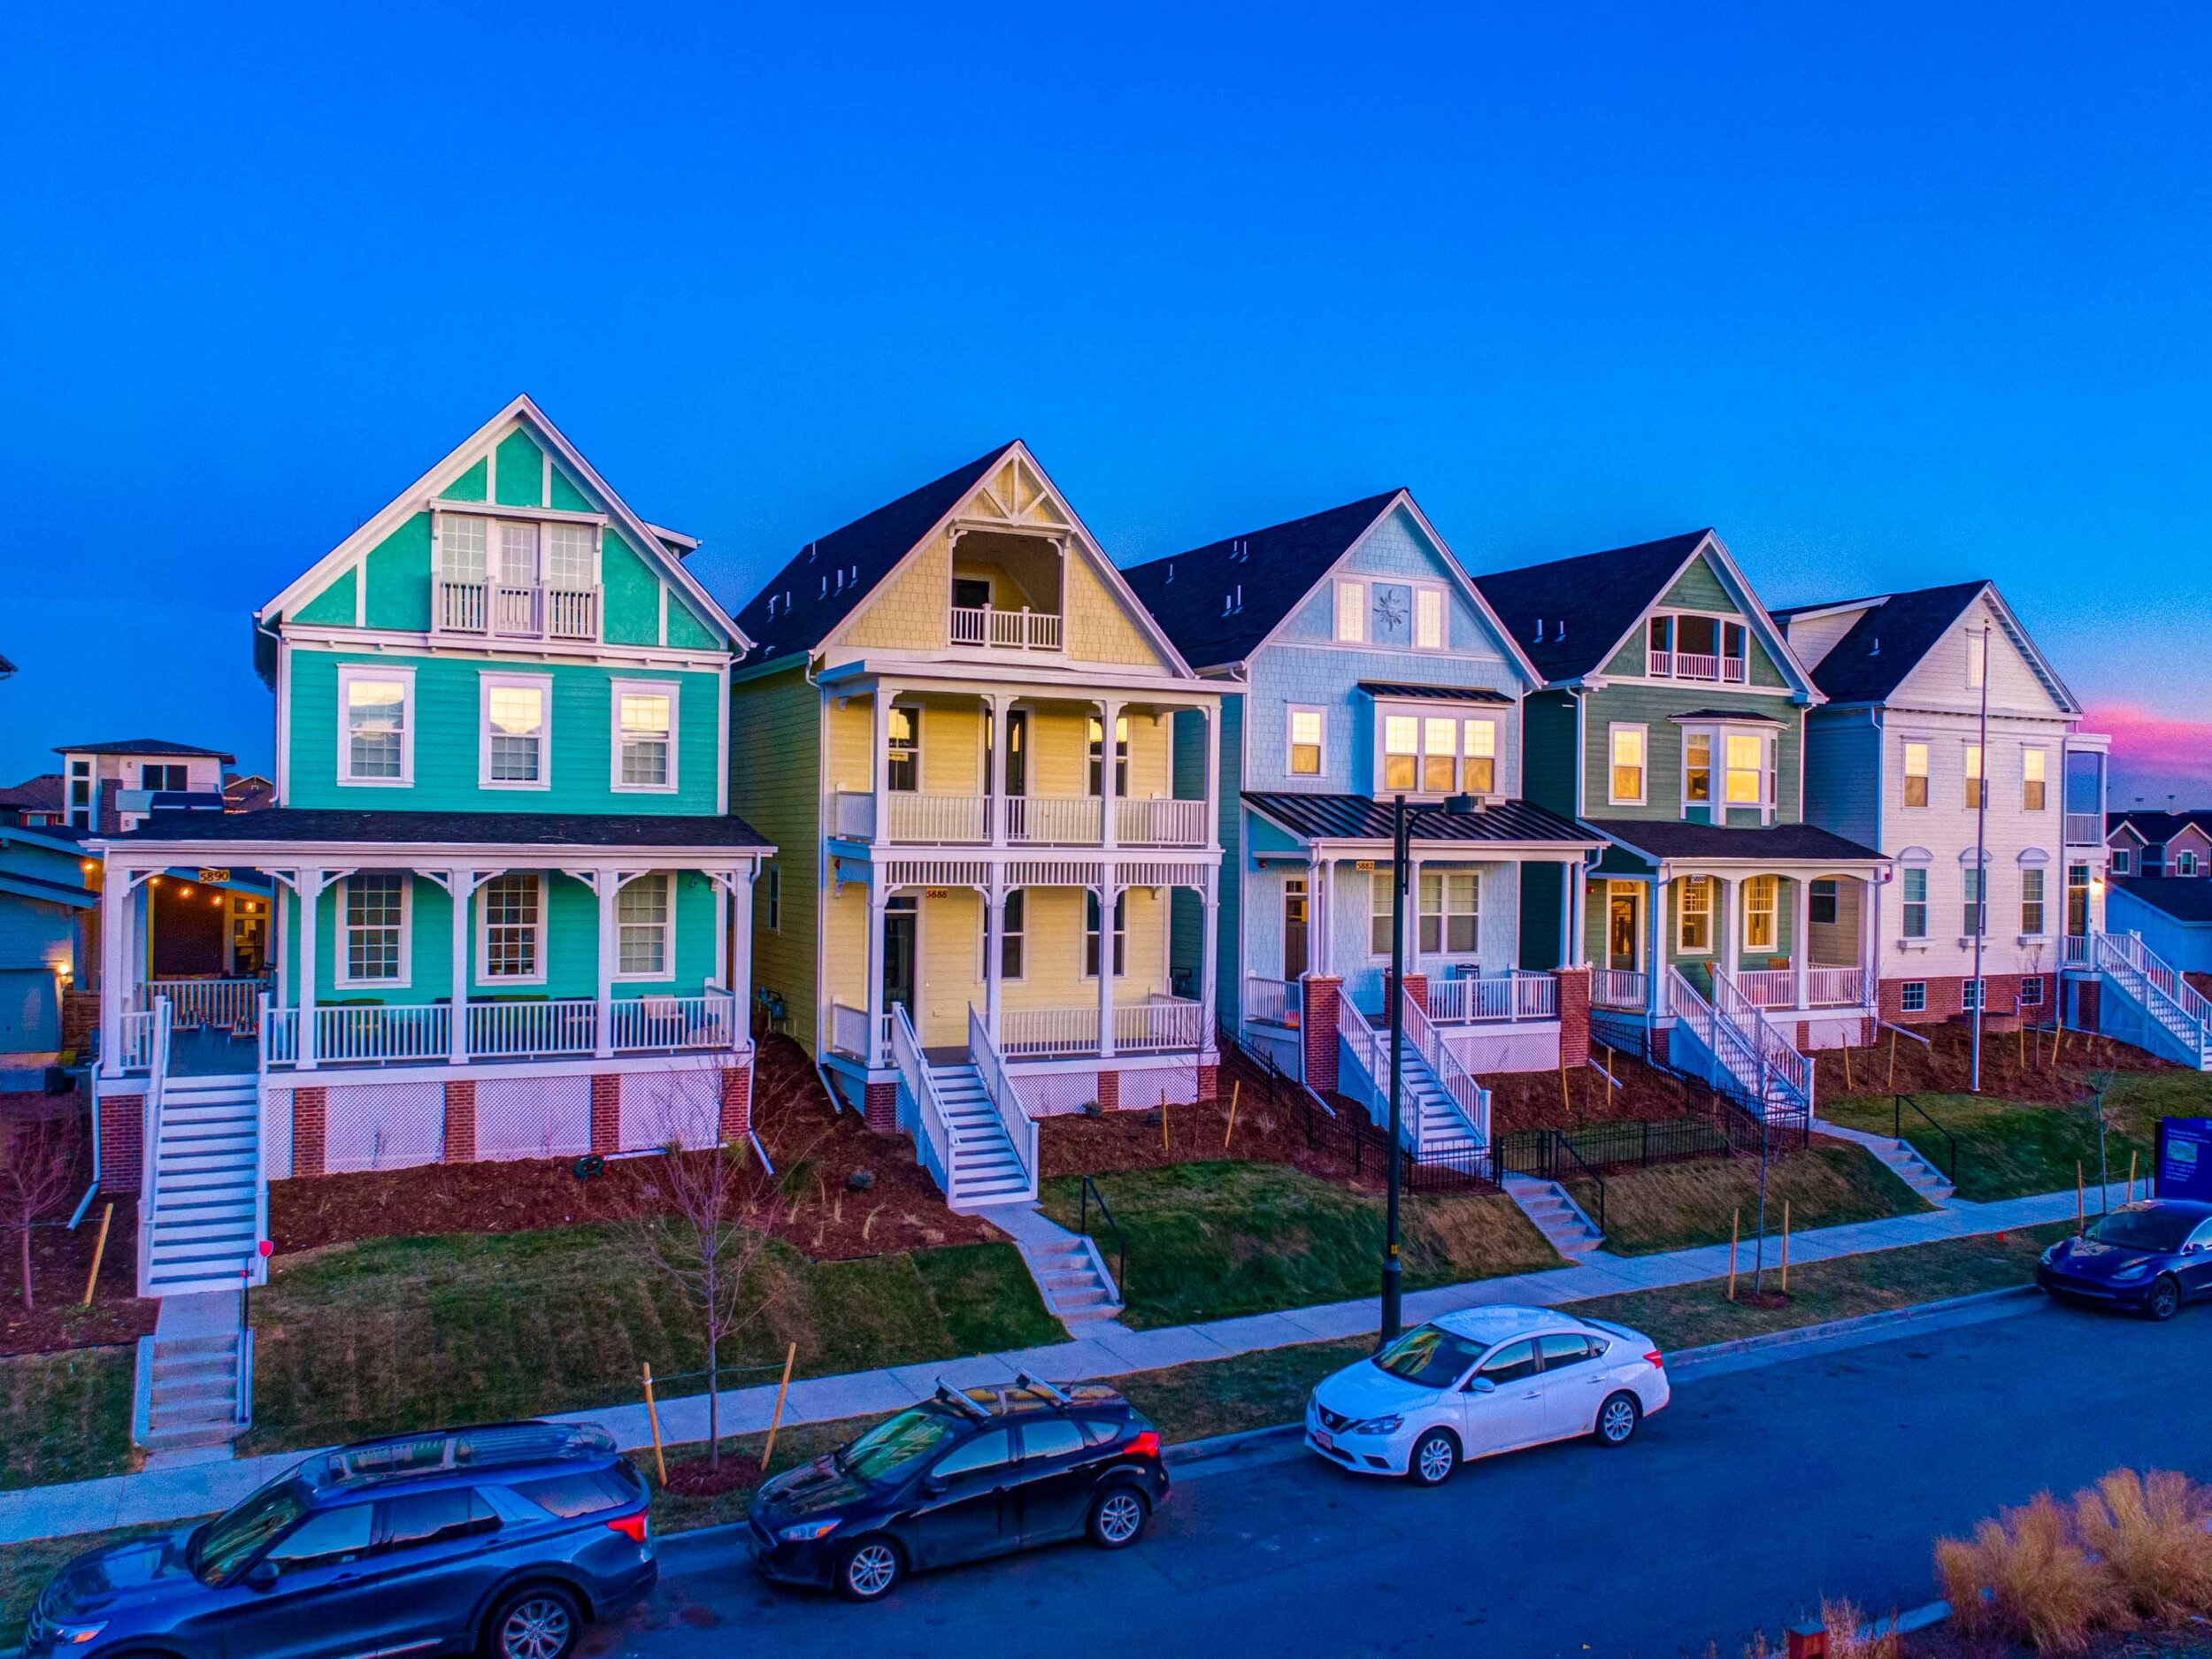
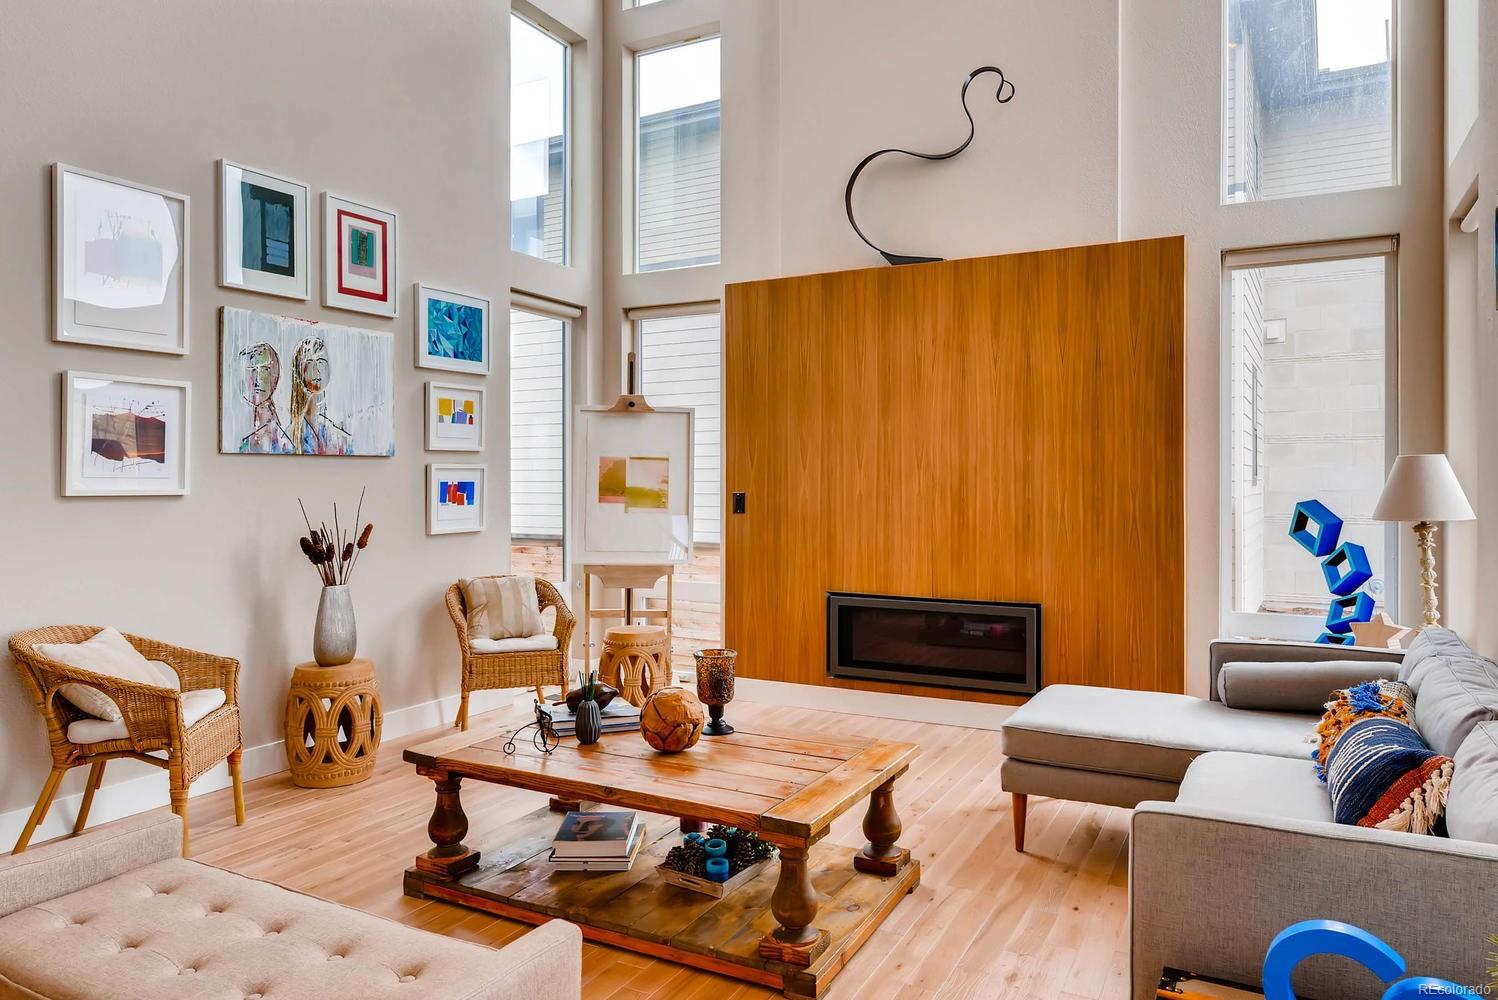
Yesterday was my pre-drywall walk on my new Parkwood home in Stapleton! How exciting to see everything come together. I was truly able to envision where furniture would go, how the lighting will work and how the house will flow (outside of my massive spreadsheets.) More on that part of the process later in the meantime feel free to check out my prior blog posts here. You can also check out my (quasi-obsessive) Pinterest boards here!
Countertops
Back to the design center…and I’m completely overwhelmed by the choices of countertops. As you can imagine, they have every option possible, but the big ones to narrow down are granite, quartz and marble. Just like with flooring, each material has a number of brands, colors and styles. I knew I needed something that would go well with my white cabinets and “historique oak” colored floors – so something that bridges the cool and warm gap. I also have a 14’ island to contend with – so something that is too busy simply won’t work. That being said, I didn’t want to have a plain gray slab either!
I have always loved the look of statuary marble. You know the type – the marble they carve elegant statues out of. Beautiful slabs of milky white with gray and neutral lines flowing through the stone. They have movement and look alive. Sadly, marble is out of my price range ($15,000+) and the maintenance is just not feasible for my family. Personally I feel most of the granite I looked at was too busy and I don’t want to have to seal it. So…quartz!
There are many different brands of quartz – but most of them ended up in the same $4500-6500 upgrade range. It is definitely possible to come in lower with quartz options or a more standard granite and one can certainly go much higher with exotic granites, marbles and other natural stones. However, if you’re looking for a maintenance free, but still very attractive option, I would budget in the $4500-6500 range.
Tile
Get tile to the ceiling in your showers! Please! If you’ve never seen what a tall person or splashy child can do to paint in your bathroom – you haven’t lived. It starts to look like a waterfall of mold. Streaks and streaks of it above your tile line. It’s not exactly unsafe, but it’s really hard to clean and it looks awful. For about $300 per shower, we were able to have tile to the 9 foot ceilings in each of our baths. Hooray for clean walls!
Quick rundown on other upgrades that I’m often asked about. These are based on attractive, but not top of the line materials. Adjust your expectations accordingly.
Single Basin Stainless Steel Kitchen Sink: $288
Single Basin Farmhouse Sink with Apron: about $1000 – lots of designs, so it varies
Kitchen backsplash: $700 for normal layout, ours was about $1300 because we went all the way to the ceiling on either side of the cooktop hood. We did not have any decorative variation, just a lovely pale gray glass subway tile.
Staggering tile to look like brick-set in baths: about $250 per area – will depend on square footage. Applies to wall and floor. Side note – it looks cool.
Upgrading to a basic subway tile in baths: $500 – varies based on area covered. This was for our master bath.
Upgrading to (beautiful) tile that looks like hardwood in the bath: starts at $600 for our master bath.
Upgraded shower pan tile: $175
So there you have it! Mariel’s fabulous adventures at the Design Center for Parkwood Homes. Keep in mind that prices will vary by builder, material and your home’s design and square footage. I have recently been fortunate enough to work with clients at the Thrive and Wonderland design centers – and many of these estimates hold true – but since the standards for each are different, a few prices will be dramatically different. If I can be of any help as a local real estate agent while you are considering building a new home, or if you just want to see if I might have some data on an upgrade you’re interested in, please feel free to reach out! I’m always happy to share information!


